How to make and create wedding mood boards
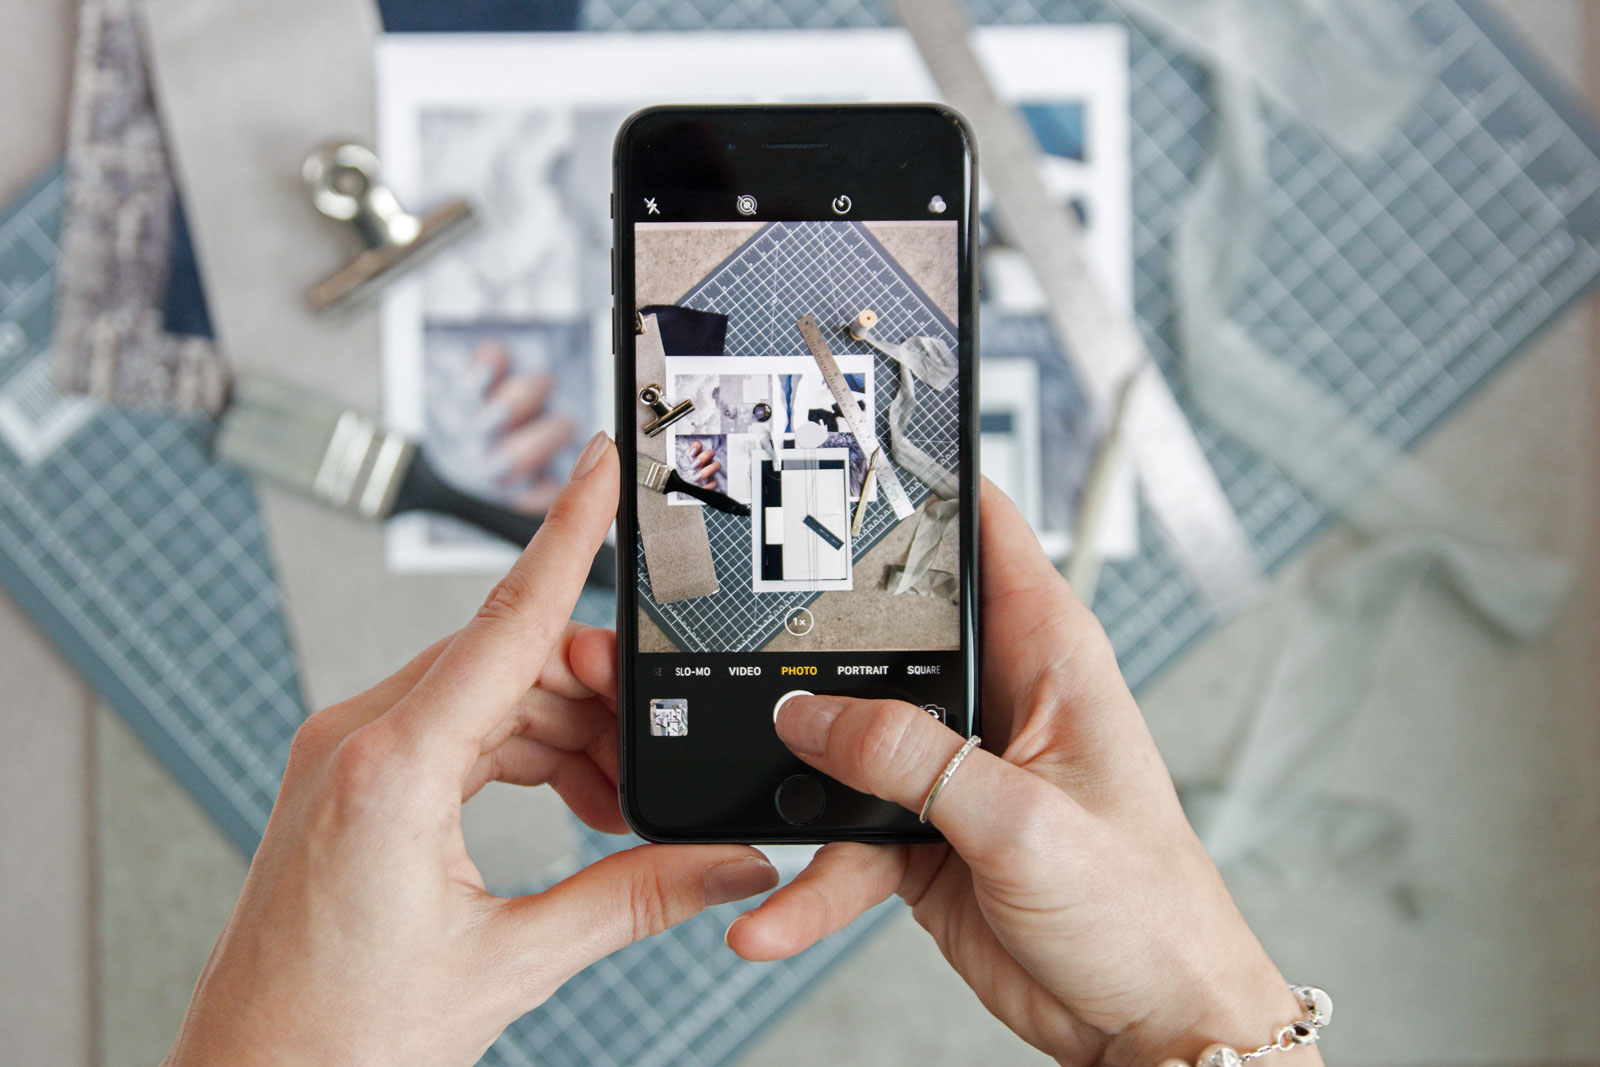
Have you just got engaged?! EEEKKKK!! Congratulations by the way – how exciting! You might just be ready to start putting together your wedding mood boards. They are great for creating your vision and ensuring everyone else can understand what you are trying to achieve. So I thought I’d tell you how I create them, so you can too.
The first thing to do when creating your wedding mood boards is to think about who and what they are for. Are they just the general wedding design scheme? Or are they specific wedding mood boards for flowers or stationery? Are they heading to someone in a different city or even country. So can they be physical or do they need to be digital?
Once you’ve answered these main questions, you can then get started. In all honesty, you basically need the same things for a digital mood board as you do for a physical one. Apart from the cutting tools of course. So here’s my go to list for what you need:
For your digital and physical wedding mood boards you need the following:
Your design scheme colours, Your Inspirational Images, Images of items you want to replicate but put your own spin on and a computer.
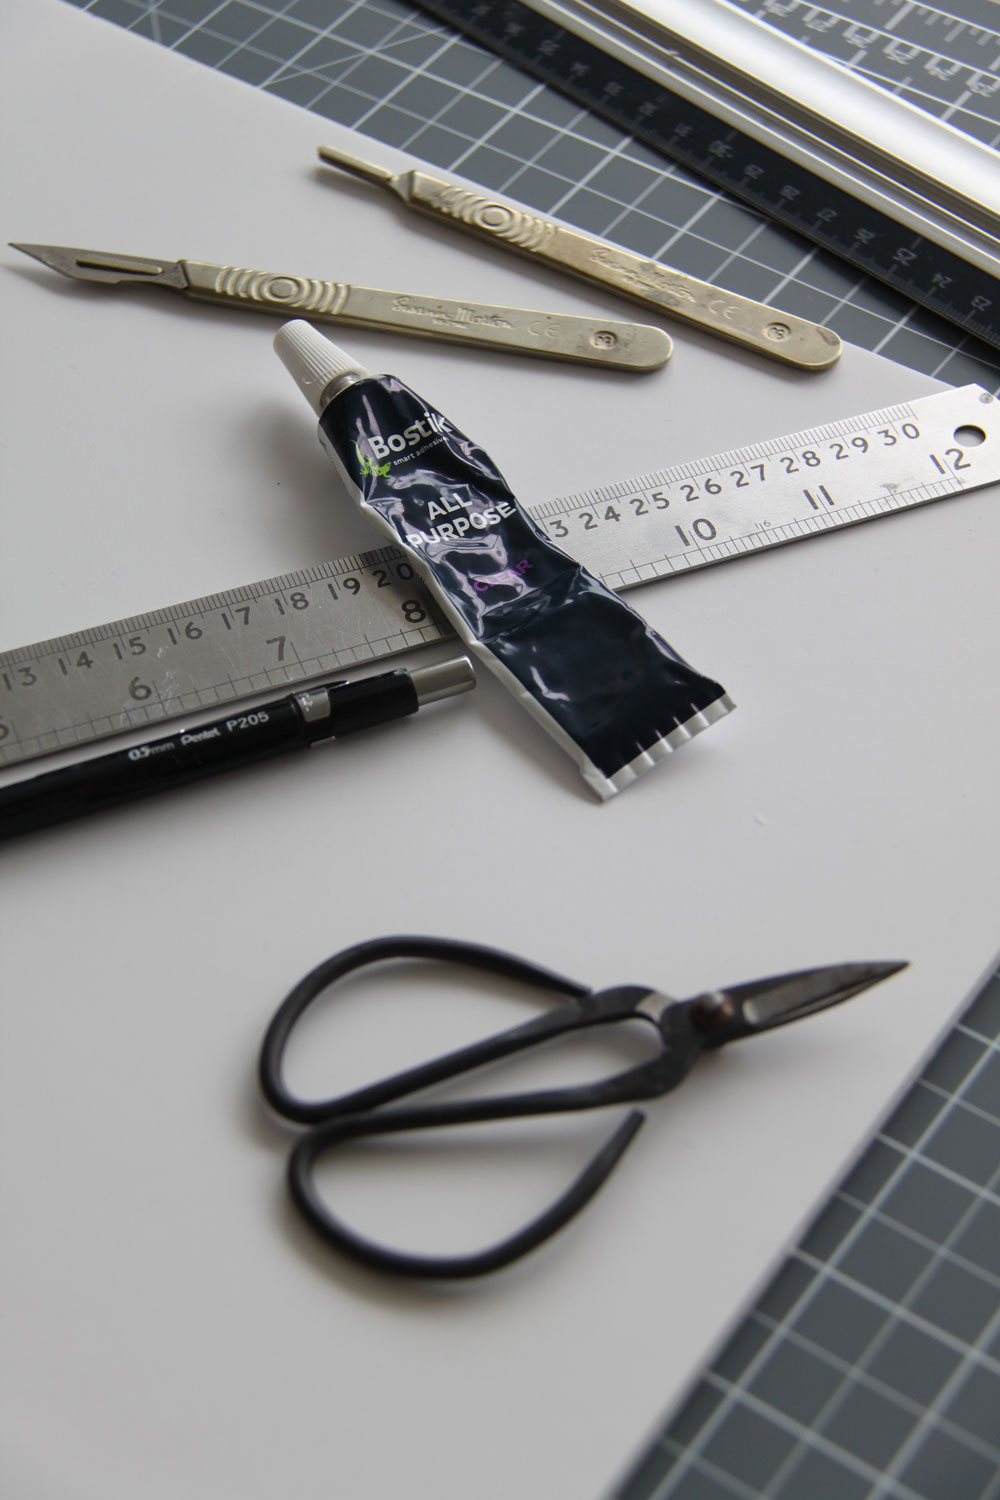
If you are creating a physical wedding mood board then you also need:
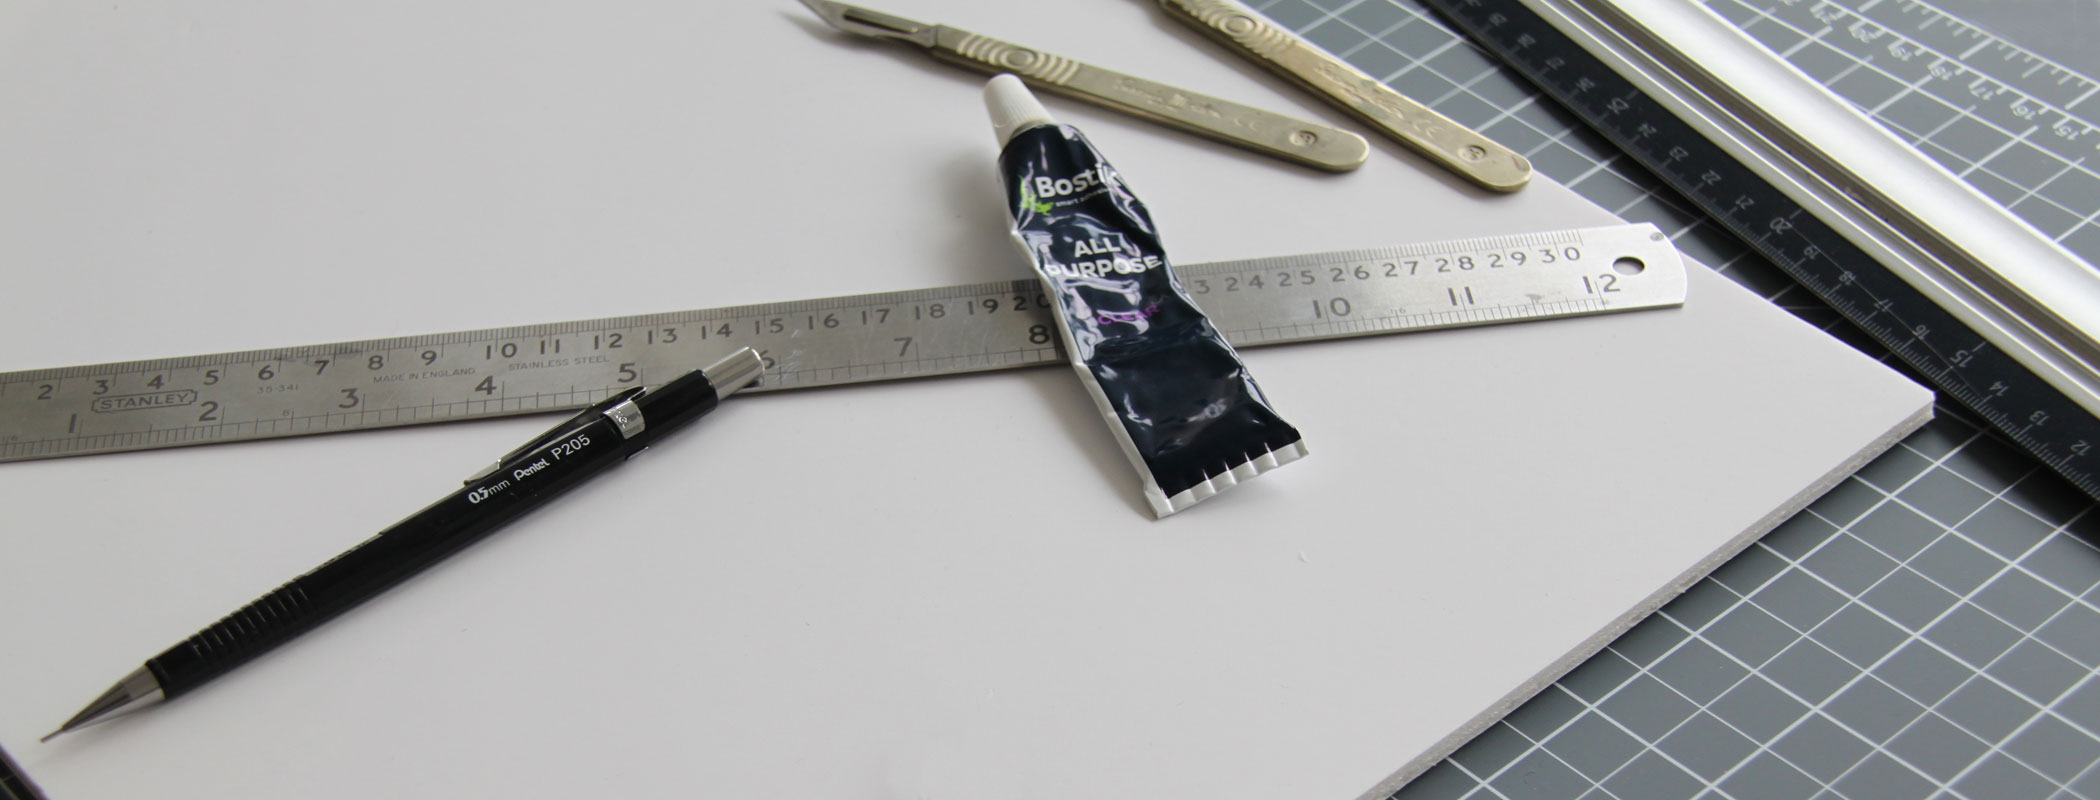
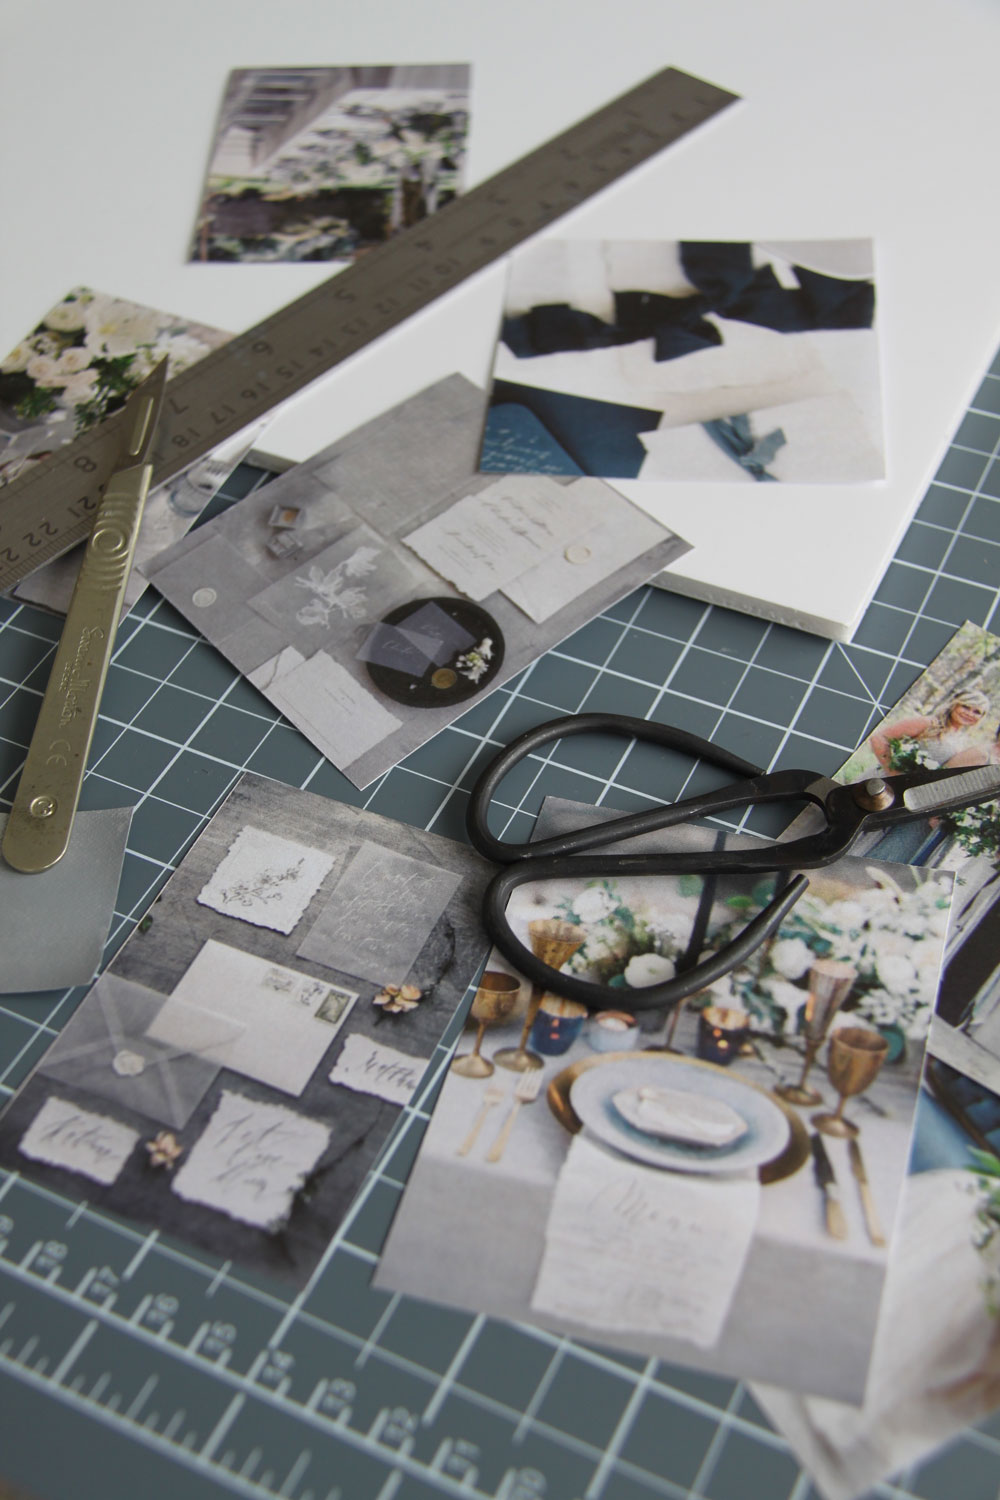
A printer, A cutting mat, A stanley knife or scissors, A ruler, Spray Mount and Foam Board. (I use this A3 foam board from Cathedral)
The first thing you need to do, is decide who the wedding mood boards are for. Do they need to be physical or digital? Or do they need to concentrate on a specific area like flowers?
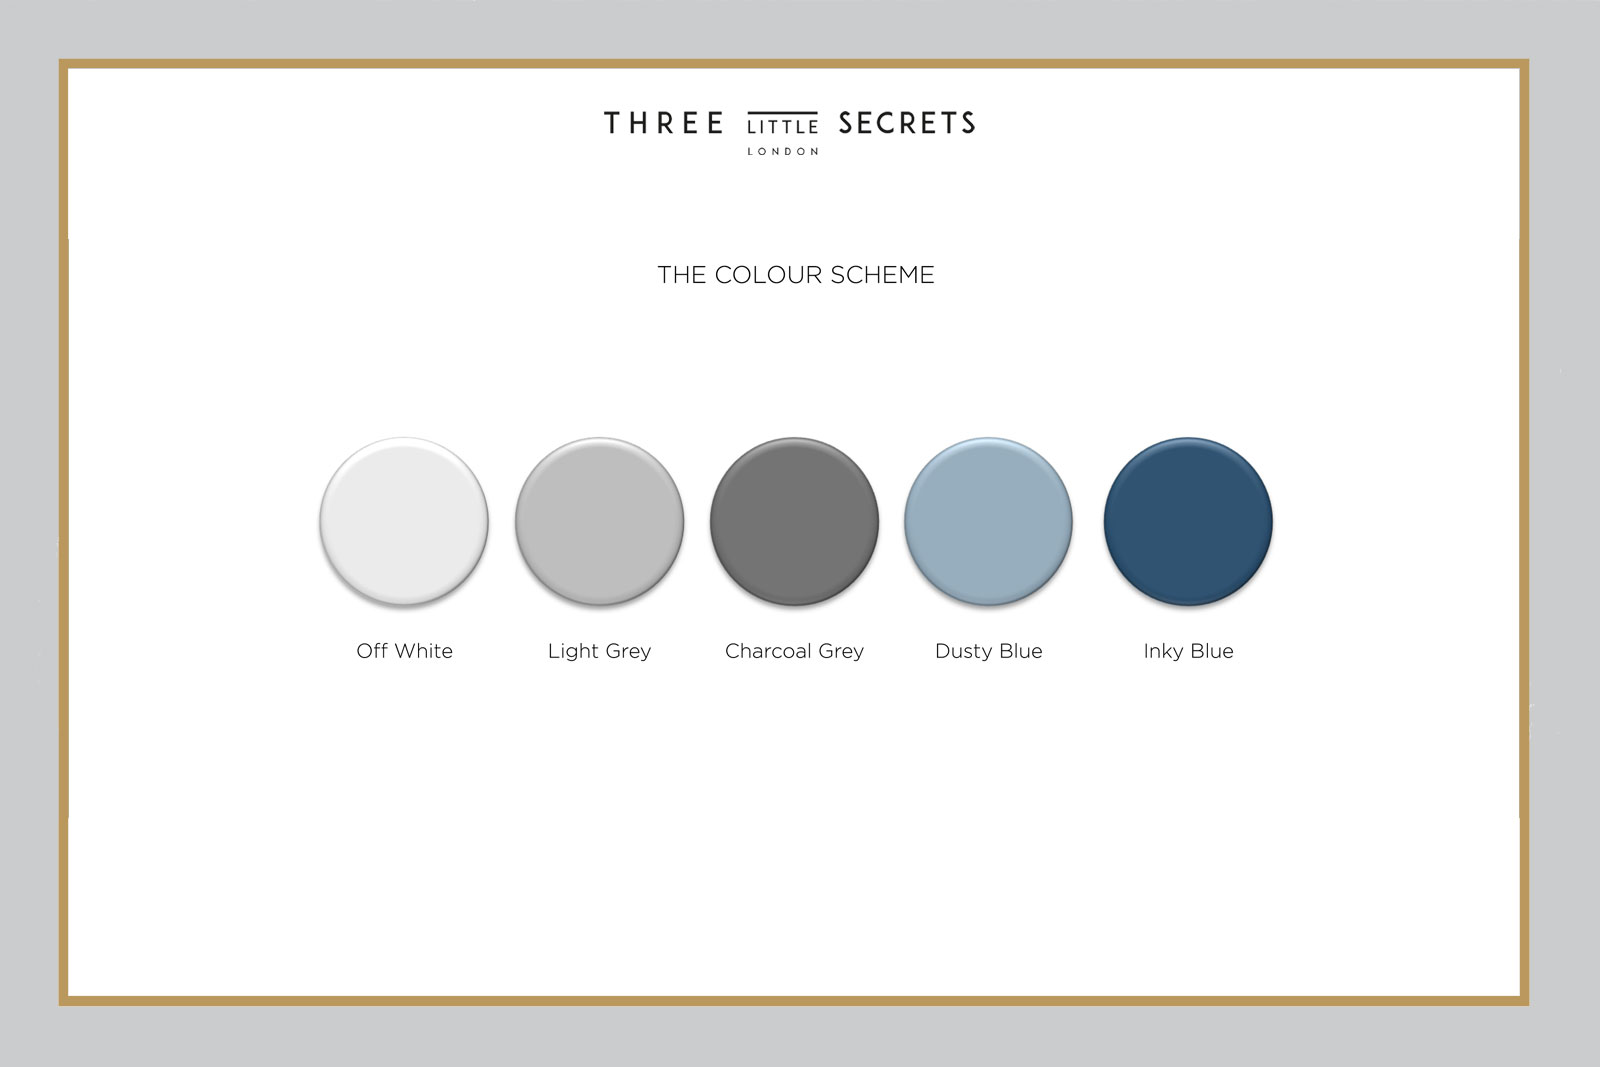
Now you know who your wedding mood boards are for, the next thing to do is to determine the colour scheme. The best and simplest way to do this is to pop each of the colours onto a Word or Publisher Document. This can then be given to every supplier, and will immediately show them the look you are trying to achieve for your big day.
Next thing to do is to begin to create your Wedding Inspiration Concept Mood Board, followed shortly by your Wedding Colour Concept Mood Board. Why create both? Well, your inspiration mood board might include images of what you are trying to recreate in terms of style, but in completely the wrong colour. So it’s good to have a colour concept board too.
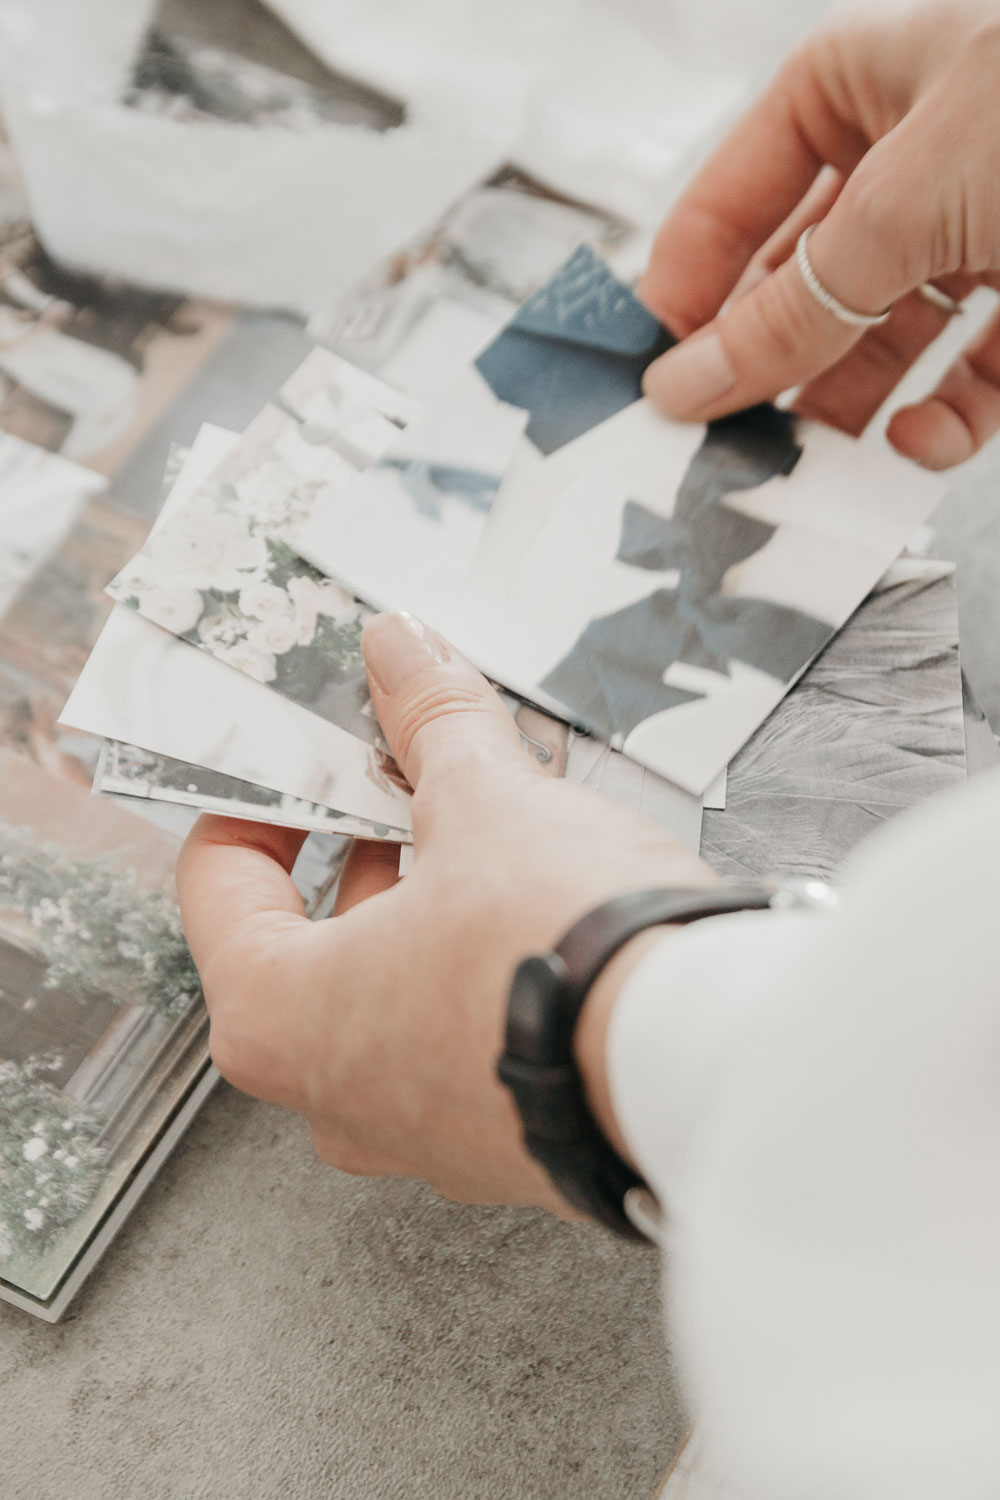
This is where the fun well and truly begins, and is my favourite part of the wedding planning process. Get creative!
Your Wedding Inspiration Concept Mood Board
So where do you begin? Well I’m sure that you’ve spent about 3 hours on Pinterest pinning all of the images you love? Perhaps you’ve bookmarked images on Instagram? Perhaps you’ve taken snaps of images from Magazines. Well here is where you need to pop them all together.
I usually put them all on to a Publisher Document. I can then see them all in one go on the screen without wasting any paper by unnecessarily printing them. You should immediately begin to spot a theme. Or a common thread running throughout your photos. Do they all contain lots of foliage? Or perhaps blush pink and gold are the common theme? Maybe they all represent a Boho Wedding theme?
Your inspiration concept wedding mood boards are all of those images that make you go WOW. The ones that you want to replicate or the ones that inspire you the most. Remember to choose a mix of images. Some showing flowers. A few showcasing stationery and some slightly more venue or reception related photos. Remember this is the general scheme mood board, so needs to show a little of everything.
This is the inspiration mood board that I created for my own wedding.
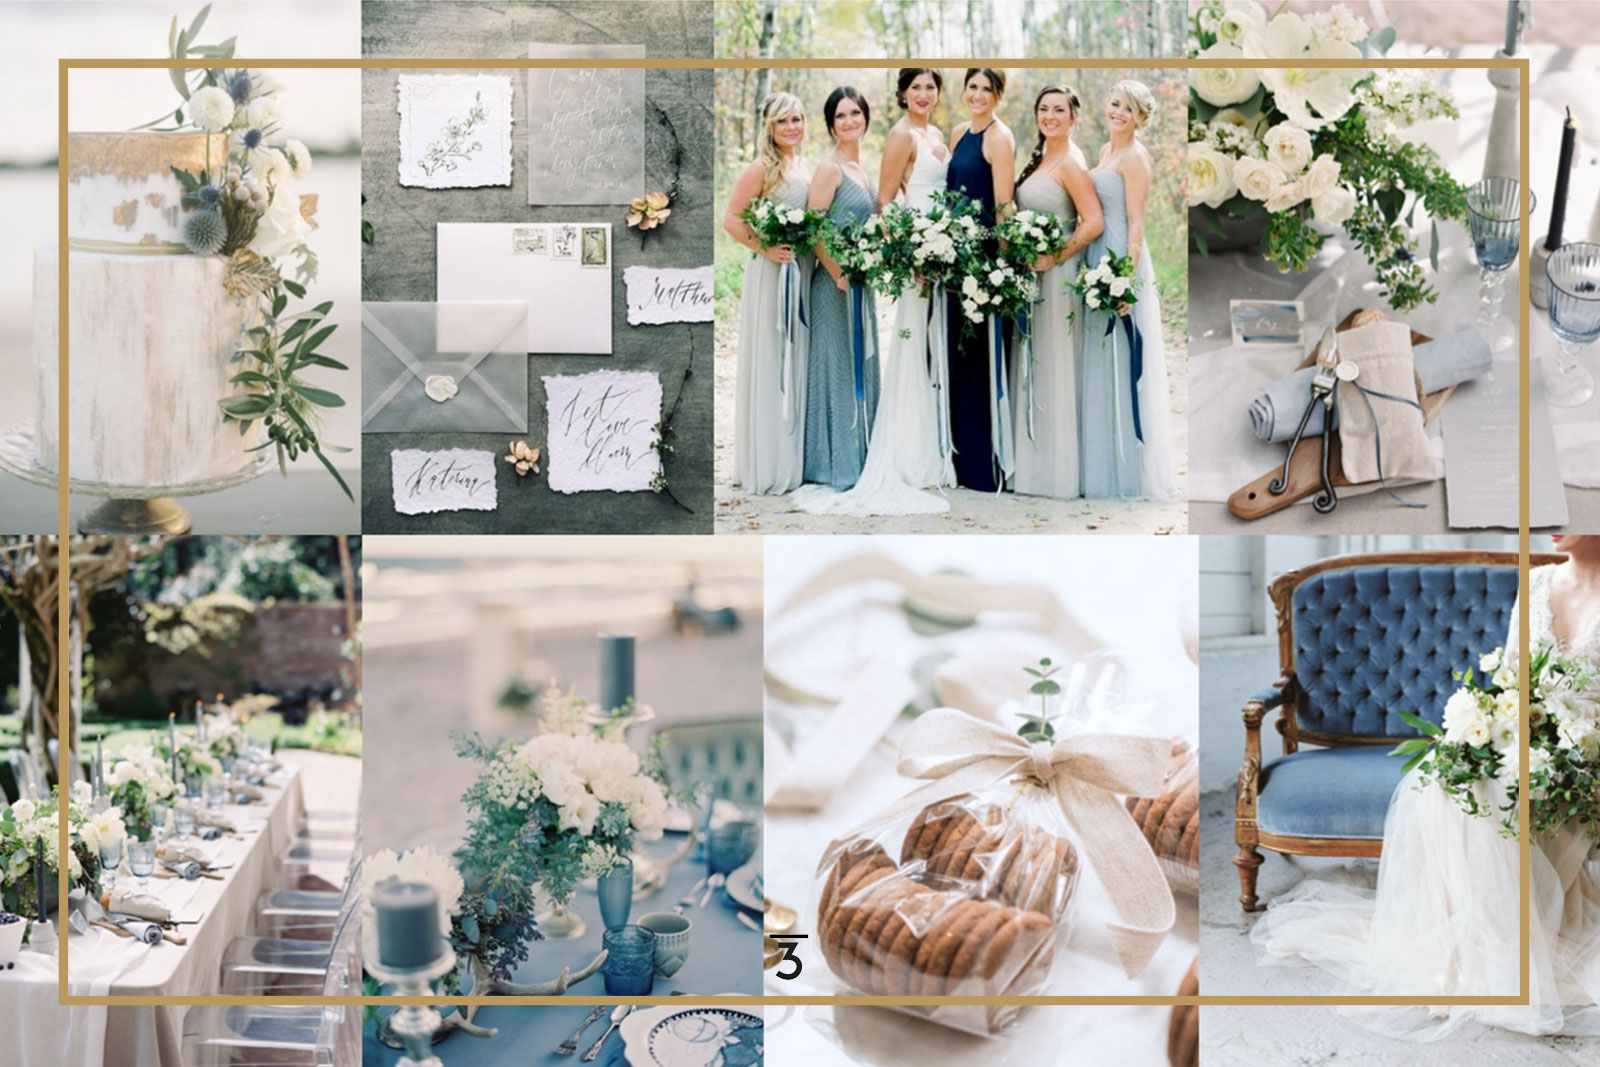
This is when all of that time spent on Pinterest, Instagram and reading Wedding Magazines will finally come in handy. I want to collect all of those images together and put them into one document.
Your Wedding Colour Concept Mood Board
Your Wedding Colour Concept Mood Board doesn’t always have to only include wedding images. It could have a few details, like ribbons or nail colours or flowers. But if you can’t find wedding related images to represent your colour scheme then go a little bit more abstract.
Although your colour concept document above is great, there is no real way of showing how much of one particular colour you want to show. My own wedding colour concept mood board showcases mainly greys, with just a tiny hint of blue. Which is the exact scheme we have chosen for the day.
This board just makes it so much easier for anyone viewing your wedding mood boards to see exactly what you were hoping for.
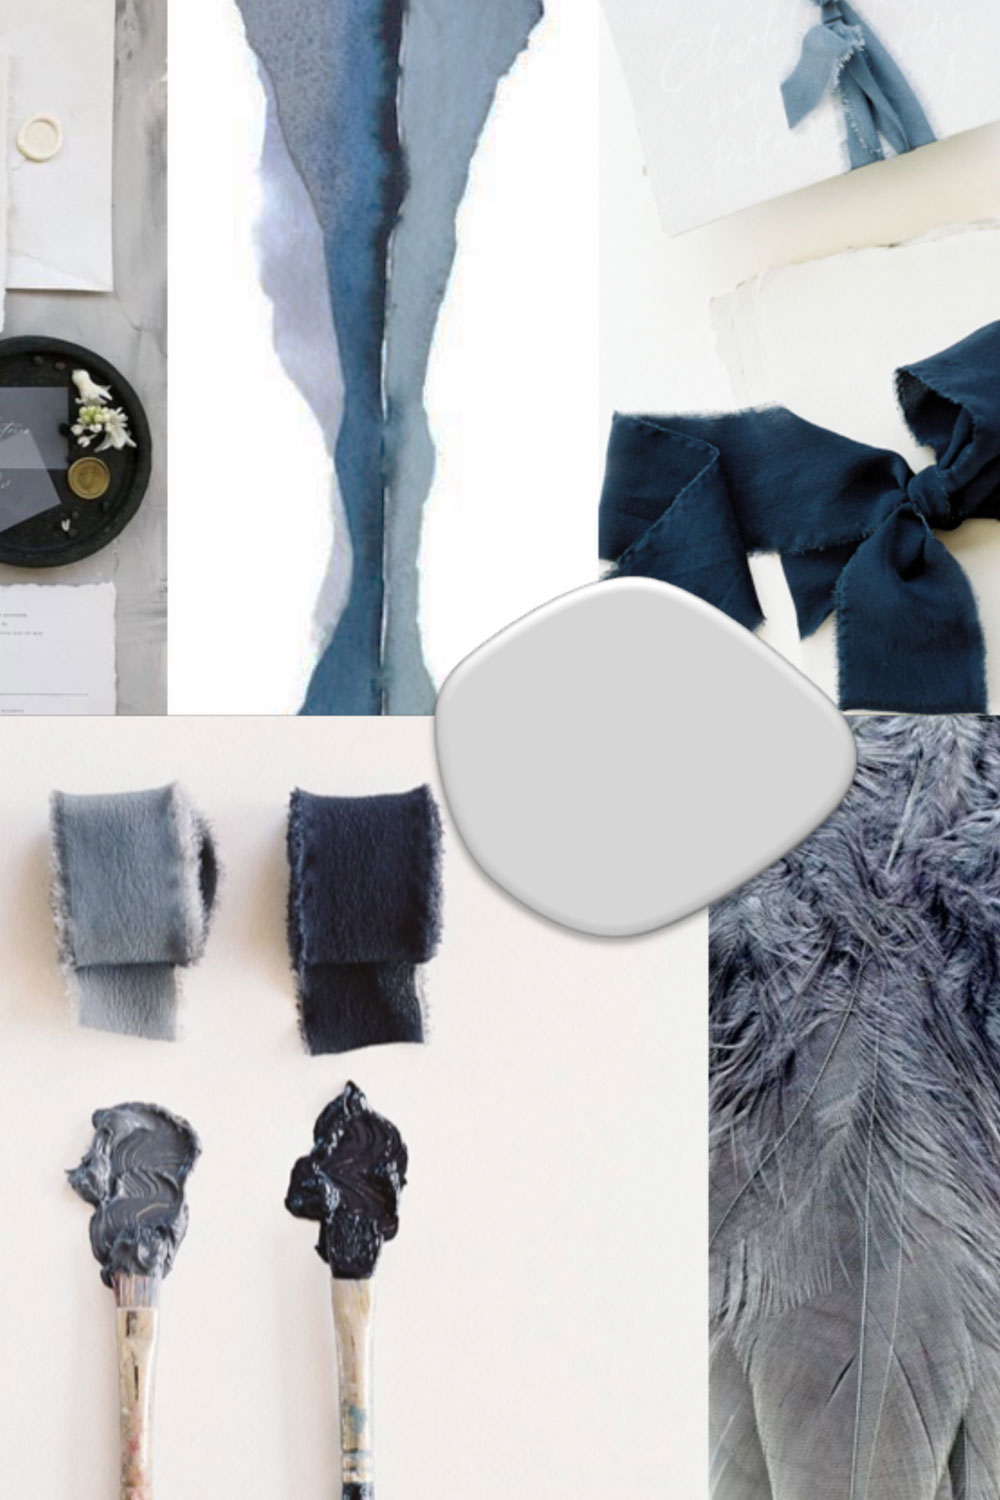
Start making your boards
So now it’s time to actually start putting your wedding mood boards together. I always have two rows of photos and between 3-4 photographs on each row. Of course this depends on whether they are portrait or landscape images. Line them up perfectly between the two rows, and make sure they are lined up on the edges.
This keeps the board neat, and easy to read. Should you just need a digital mood board, then this is you done. Remember to title it, so that who ever you are sending them to knows what they are for.
If you are going on to make a physical mood board, then still create it in the same way. Just hit print. As I create my mood boards in A3, I print the document twice in A3. But if you’d rather just an A4 sized board which is easier to transport, then just print out the document in A4. Again print it twice.
If you are making a physical mood board, then always print out your photographs twice.
The reason I print the photos out twice, is so that I can raise the images that mean the most to the design scheme. Although first of all, stick your A3 or A4 print out on to your foam board. Don’t cut this until it’s stuck onto the foam. Once stuck, then neatly cut the foam board to the edge of the printed photographs.
Roughly cut around the image or images you want to raise, and then stick these to off cuts or another piece of foam board. Once stuck, chop neatly round them at an angle, so the part that you will stick to the foam board is smaller than the image at the top. Although it’s only a tiny raise, it will not only make your boards look better, but also show whoever is viewing them which is your favourite image.
Hopefully you now feel a little more confident to get started on your own wedding mood boards. Here’s how I popped my own mood boards together for my wedding flowers.
All Images used within the Mood Boards were sourced from Pinterest.
Image 1 and Image 5 | Stories By Chloe
Disclaimer – We always endeavour to credit the correct and original source of every image that we use. If you think that this credit may be incorrect, then please contact us at info@houseofthree.co.uk
